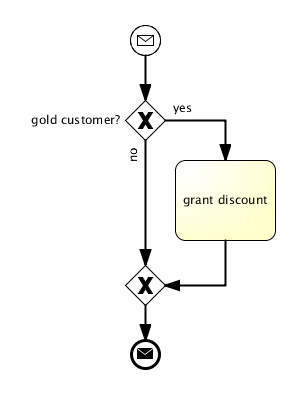
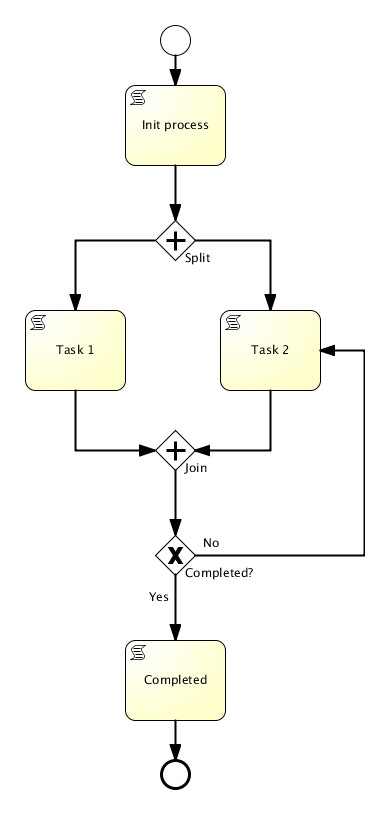
In this tutorial I would like to show how to visualize BPMN files in a web browser.
All we need is jQuery for easy DOM navigation, XMLJS to parse the BPMN file and Raphael to visualize it. Since BPMN version 2.0 the BPMN XML file contains additional diagram interchange information. This information together with the actual process data can be used to draw process diagrams from the XML with little effort.
Step 1: Create the process
First we create a simple BPMN2.0 process like the one below using our tool of choice. In this case it was created with Signavio Modeler.
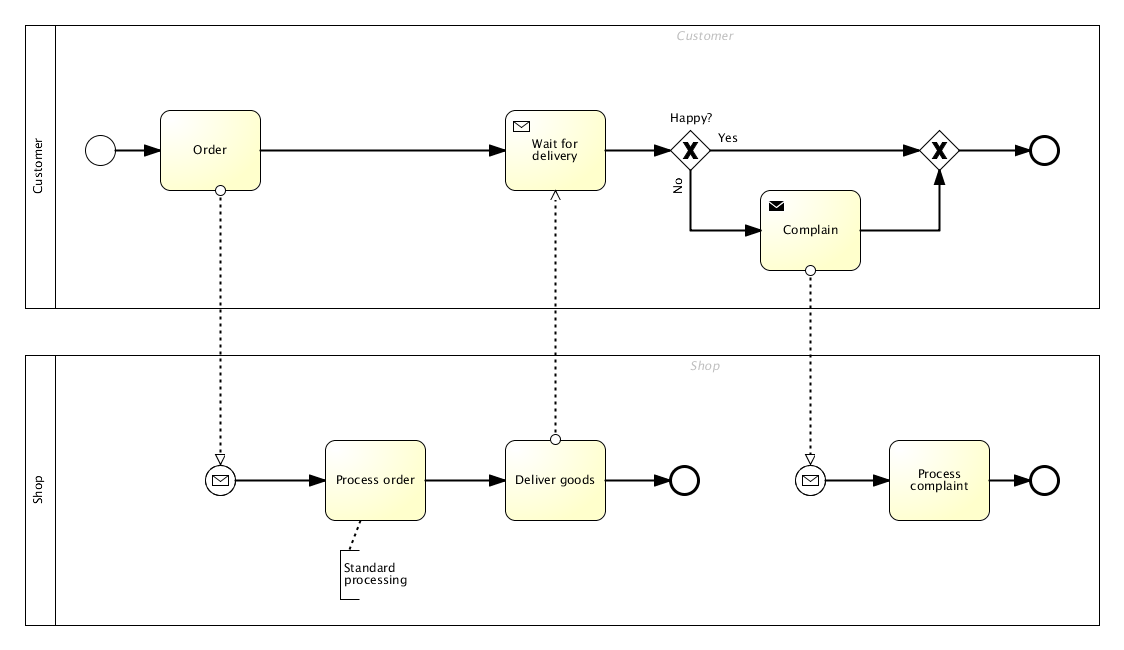
If we open the bpmn file in a text editor it looks like this:
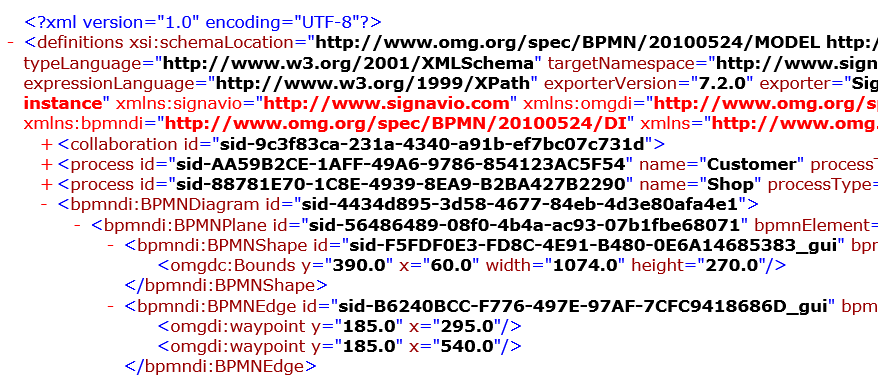
What we see is that in addition to the actual process information it contains elements named BPMNShape and BPMNEdge. BPMNShape contains the bounds of the shape whereas BPMNEdge contains the path of the respective shape connector. This is the diagram interchange format which specifies the size and location of the graphical elements and paths.
Step 2: Prepare the HTML page
We need a simple HTML page that loads the required scripts for jQuery, XMLJS, Raphael and of course our own script bpmnjs.js.
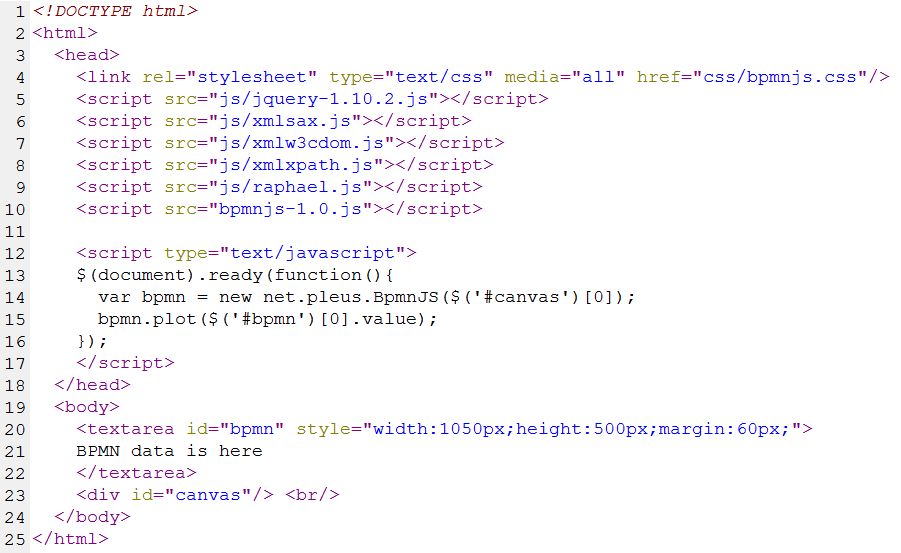
The textarea element (line 20) contains the BPMN data. It is omitted here for the sake of readability.
The div element (line 23) specifies the drawing area that is needed to output the graphics.
Both are needed to initialize BPMNJS in the document ready event (line 14-15).
Step 3: Parse the DI elements using XMLJS
The following listing shows the parsing loop for the BPMN shapes within the plot function of BPMNJS.
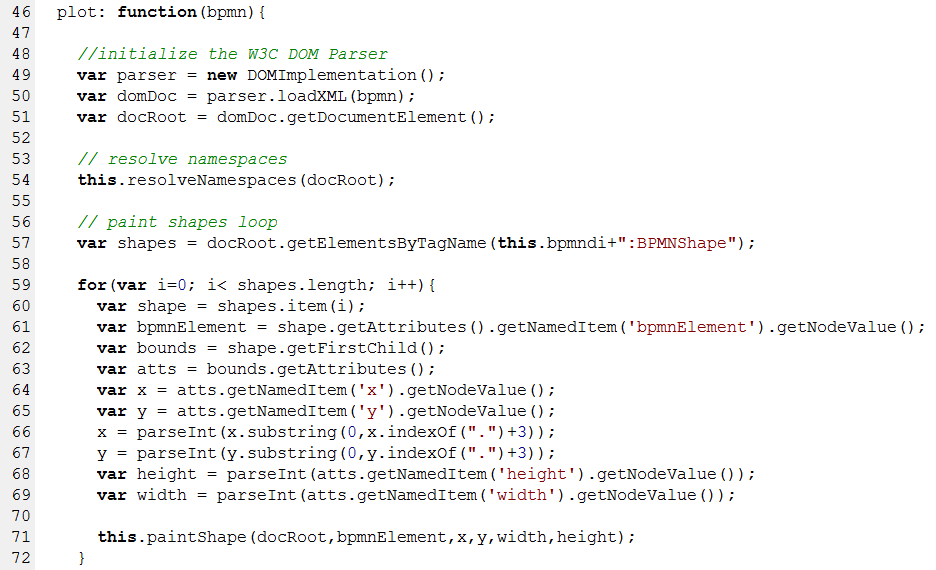
First the XMLJS dom parser is initialized (line 49-51). The bpmndi namespace is determined in the getNamespaces function at line 54. Line 57 obtains all shapes. The rest of the listing iterates over the shapes, gets positions, sizes and bpmnElement-ids of the related BPMN elements and passes them to the paintShape function which performs the painting. The parsing loop for the edges is almost identical. The simplest possible paintShape implementation would look like the following.

The constructor function (lines 2-4) connects Raphael with our div and stores the Raphael instance in a variable called paper. The paper is used in the function paintShape which draws a simple rectangle using the given coordinates (line 8).
The result looks like this:
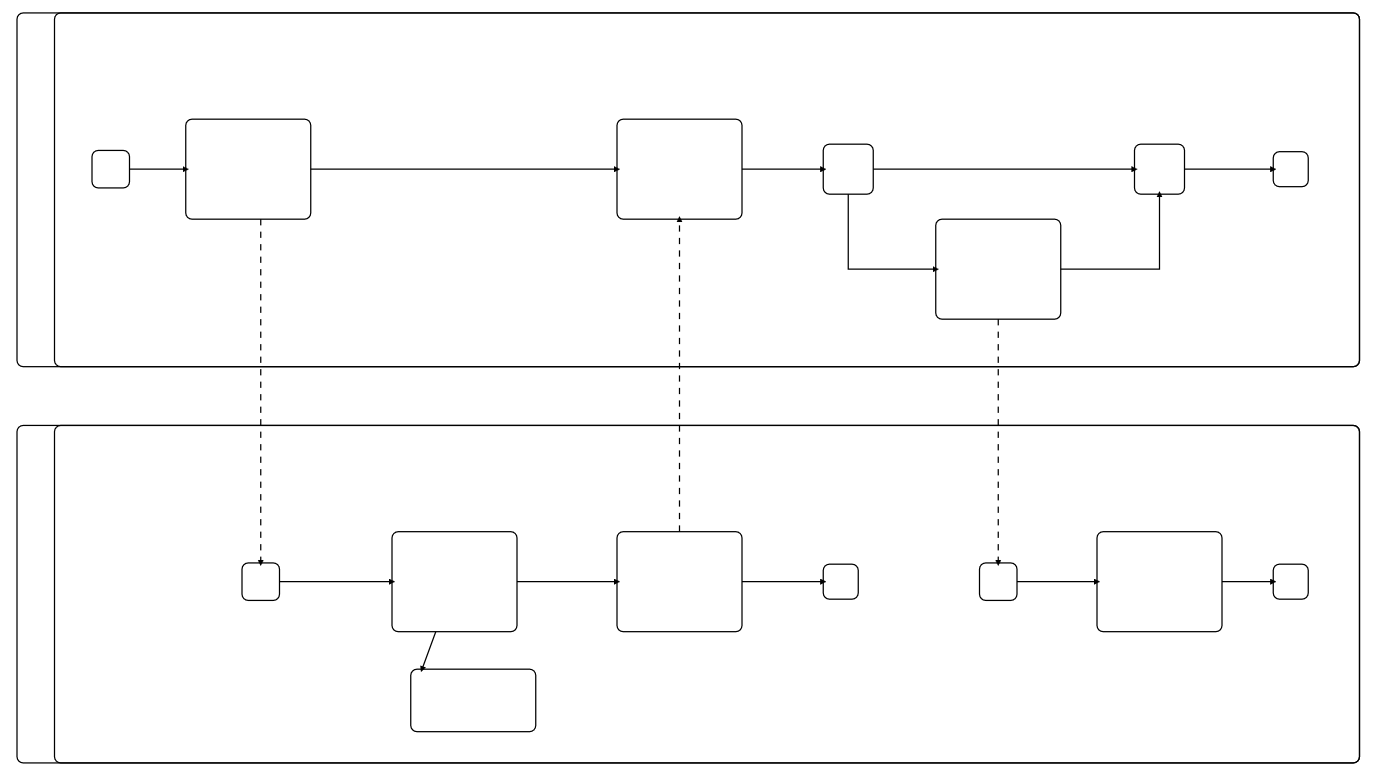
A few lines of JavaScript and we see the BPMN skeleton already. Not too bad.
Step 4: Find related process elements
In order to draw specific BPMN elements we have to determine the element type. The bpmnElement attribute that we have got in step 3 helps us to do that. We use it to get the process element by issuing an xPath expression on the DOM as you can see in the next listing (line 128).

The localName of the element is the name of the BPMN element an therefore the type such as startEvent. With this information we can implement a dispatcher to draw all BPMN elements individually (lines 130-133).
Step 5: Draw elements using Raphael and CSS
Raphael is a powerful JavaScript library that allows to paint graphical primitives easily.
The next listing shows an implementation to draw a basic BPMN task.

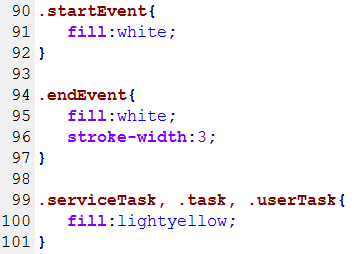
First the rectangle is painted (line 3) then the text is written onto the shape (lines 6-8). We can even apply CSS stylesheets to the shapes that allow very flexible customization without changing the JavaScript code (line 10). The function getCss determines the CSS class name. The simplest implementation just uses the elementType as CSS class name as you can see in the following CSS snippet.
After implementing some more type specific paint functions the result looks like this:
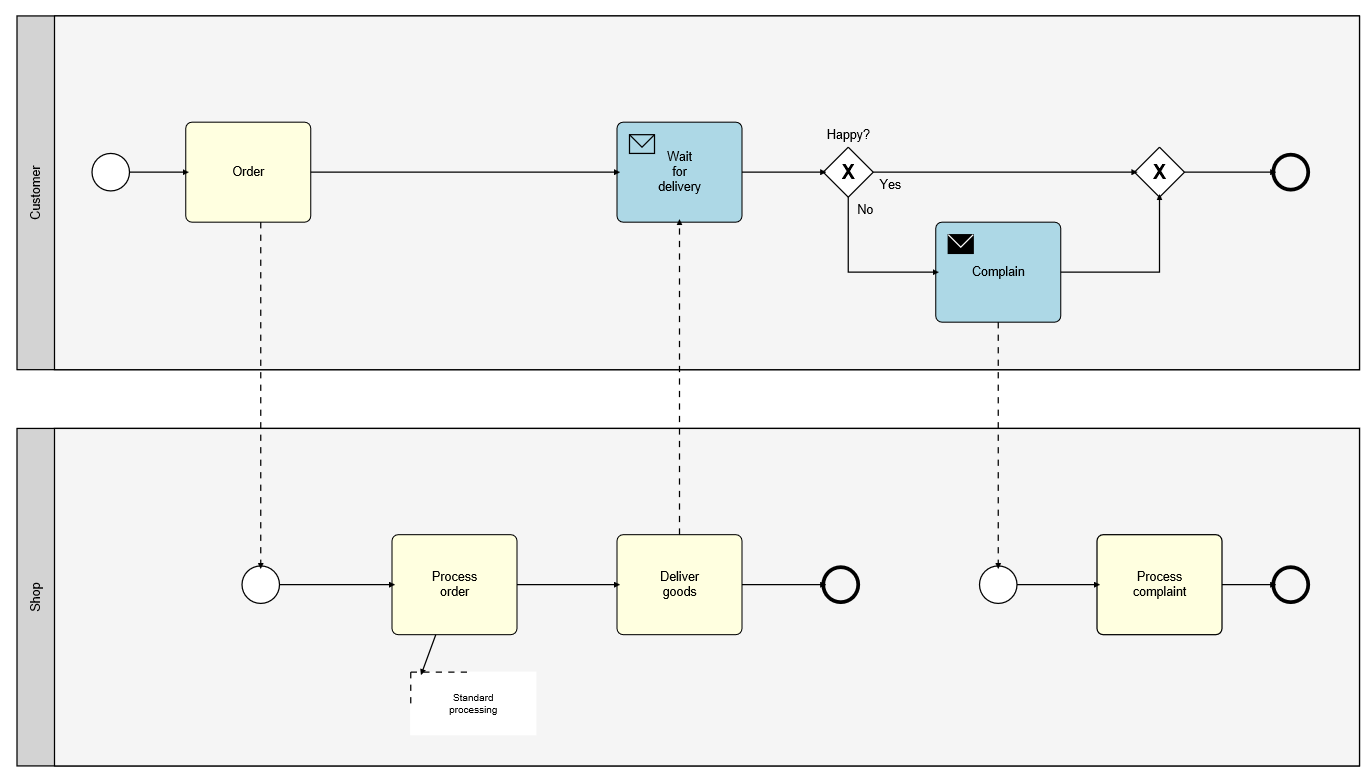
Step 6: Highlight paths
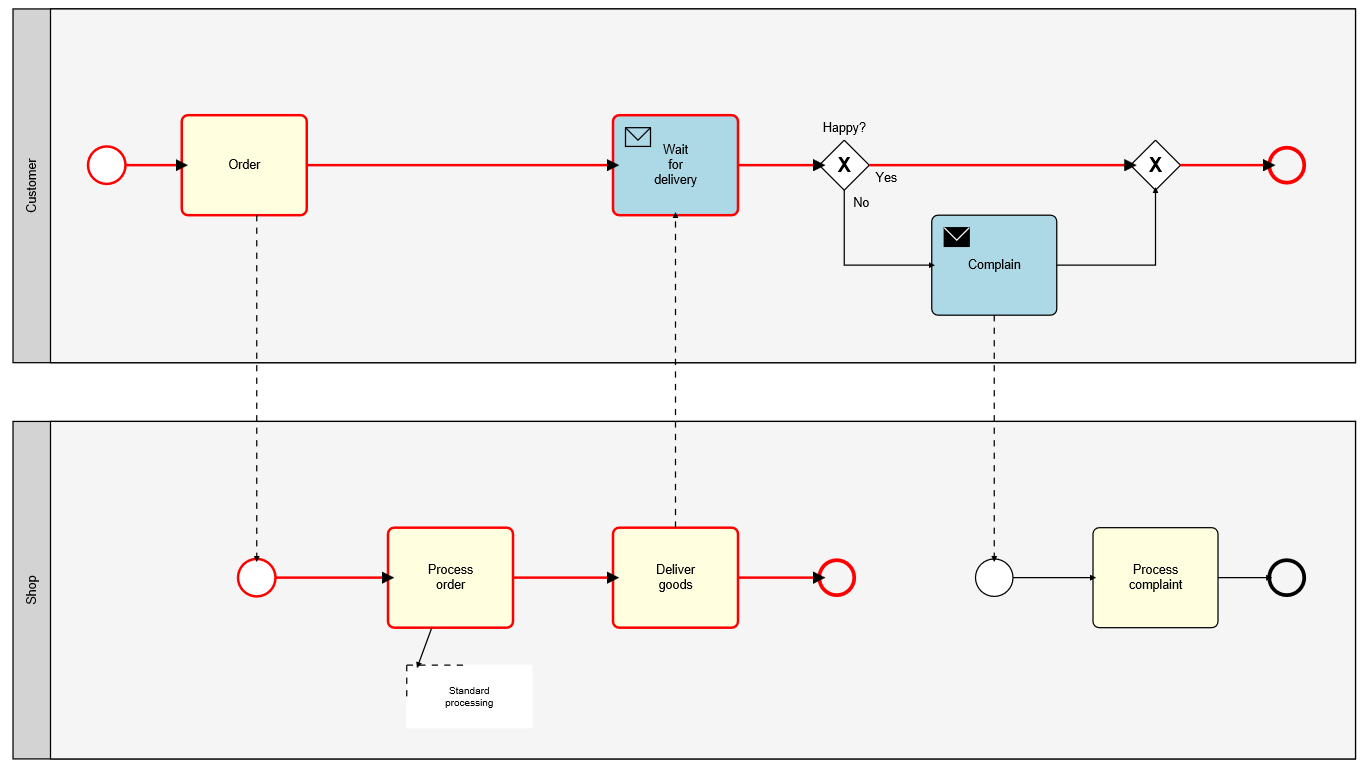
One of the advantages of painting the BPMN model at runtime over a static JPG like the one shown in step 1 is that it allows interactivity. For instance we could highlight the actual token flow in the model. To do that we need information about the executed BPMN steps. This can typically be obtained from a process tracking system which is part of almost every BPM product. To achieve highlighting we extend the getCss function to return a different class if the current shape is in the list of already executed steps.
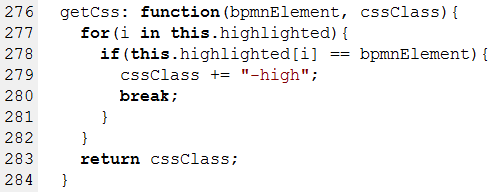
We add the postfix -high to the CSS class in case the element should be highlighted. By specifying for example the class .task-high we can achieve highlighting for shapes and edges. The result is show below.
Step 7: Add interactivity
Finally we can even add interactivity to the model with a little help from Raphael.

As this can not be demonstrated using static images you can find an interactive version here. In this version you can hover over and click individual shapes to make them react.
Summary
With the help of jQuery, XMLJS, Raphael and less than 300 lines of JavaScript code, this blog post has shown how to create interactive BPMN models in your web browser. The complete demo can be downloaded here.
